Mega Creator
Mega Creator is an online DIY graphic editor for building custom illustrations, photos, and collages from pre-made elements. It allows you to create a wide range of projects in many formats.
Starting
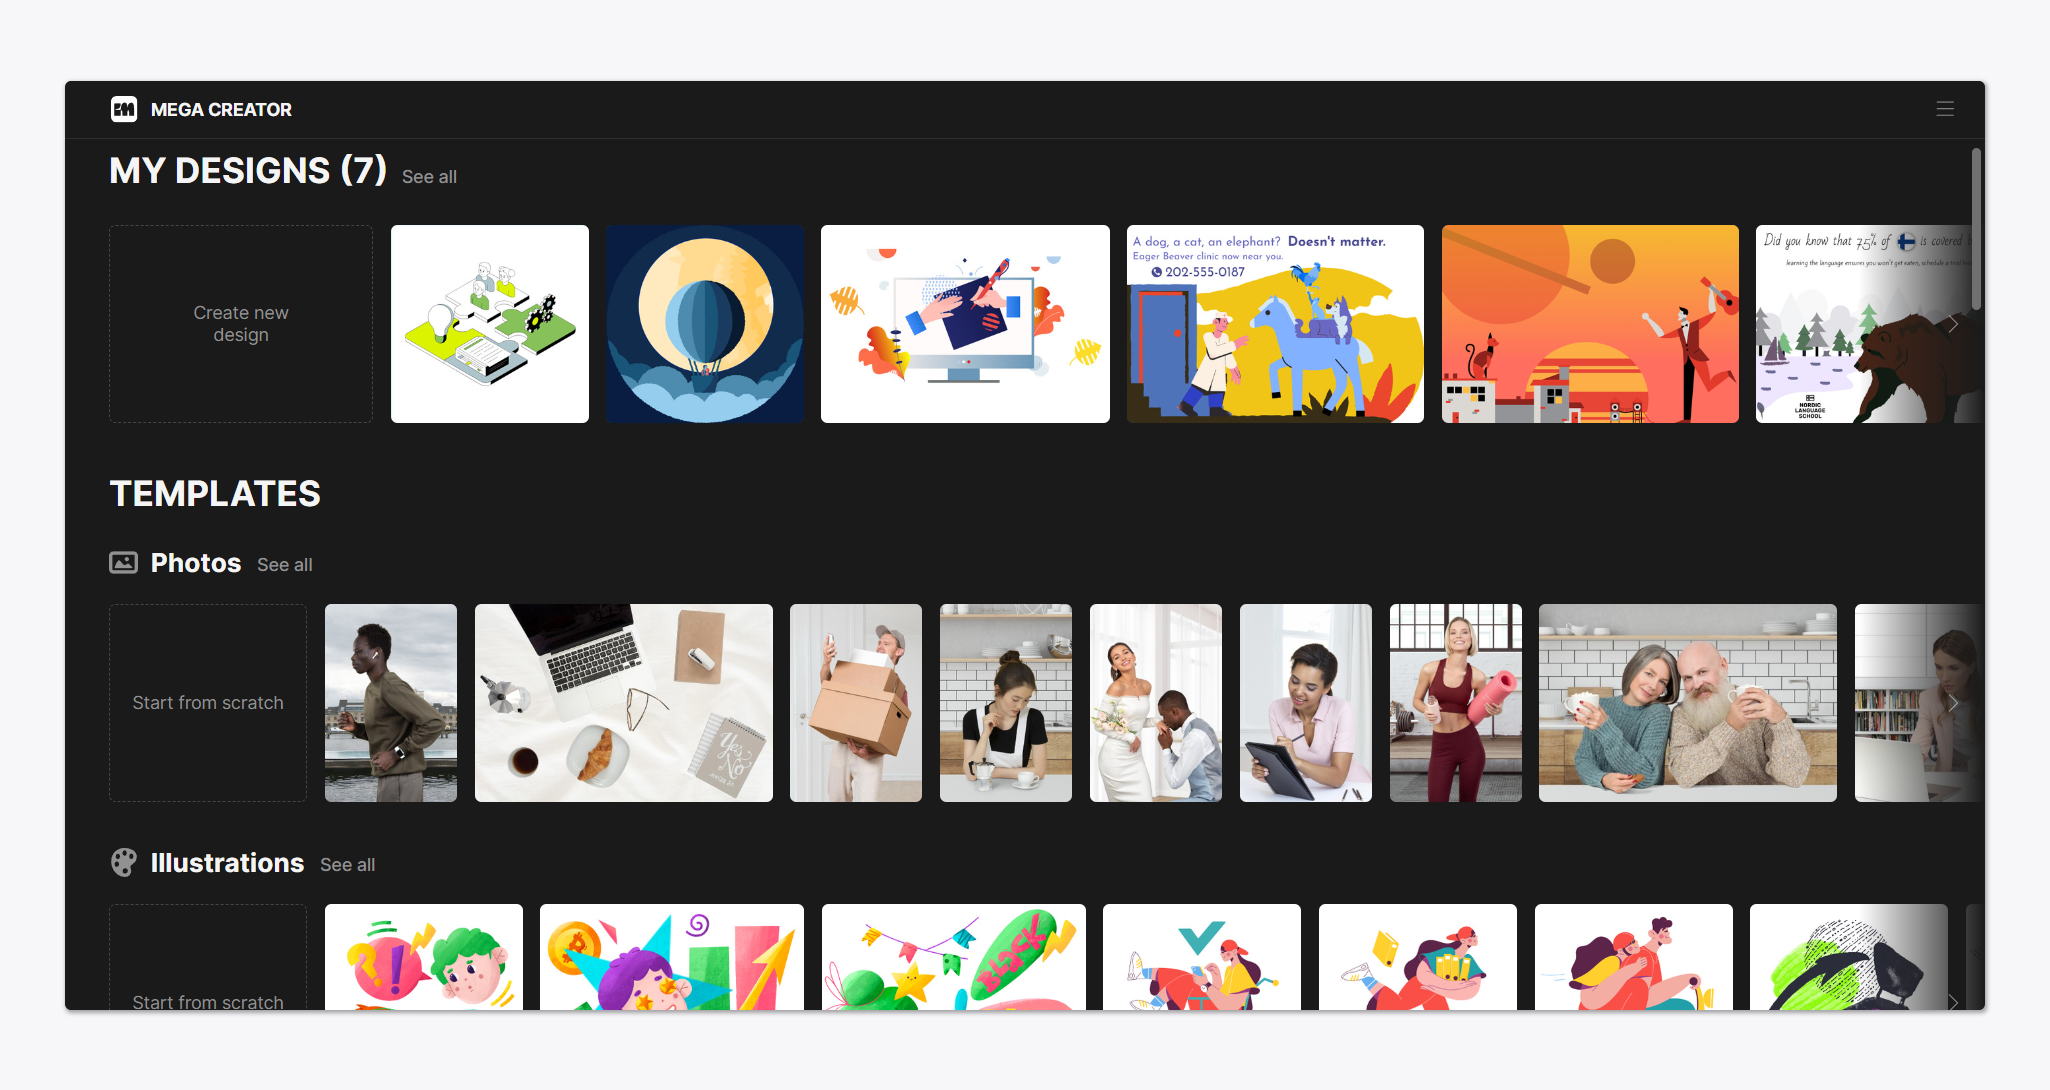
When you open Mega Creator, you will see the My designs section at the top, which will hold any collages you create. Here, you can start a new project right away or scroll down to view all of our templates, which you can use as a base for your project.
Before proceeding, click on ![]() in the top-right corner and log in to your Icons8 account to save your designs and connect your subscription if you have one.
in the top-right corner and log in to your Icons8 account to save your designs and connect your subscription if you have one.
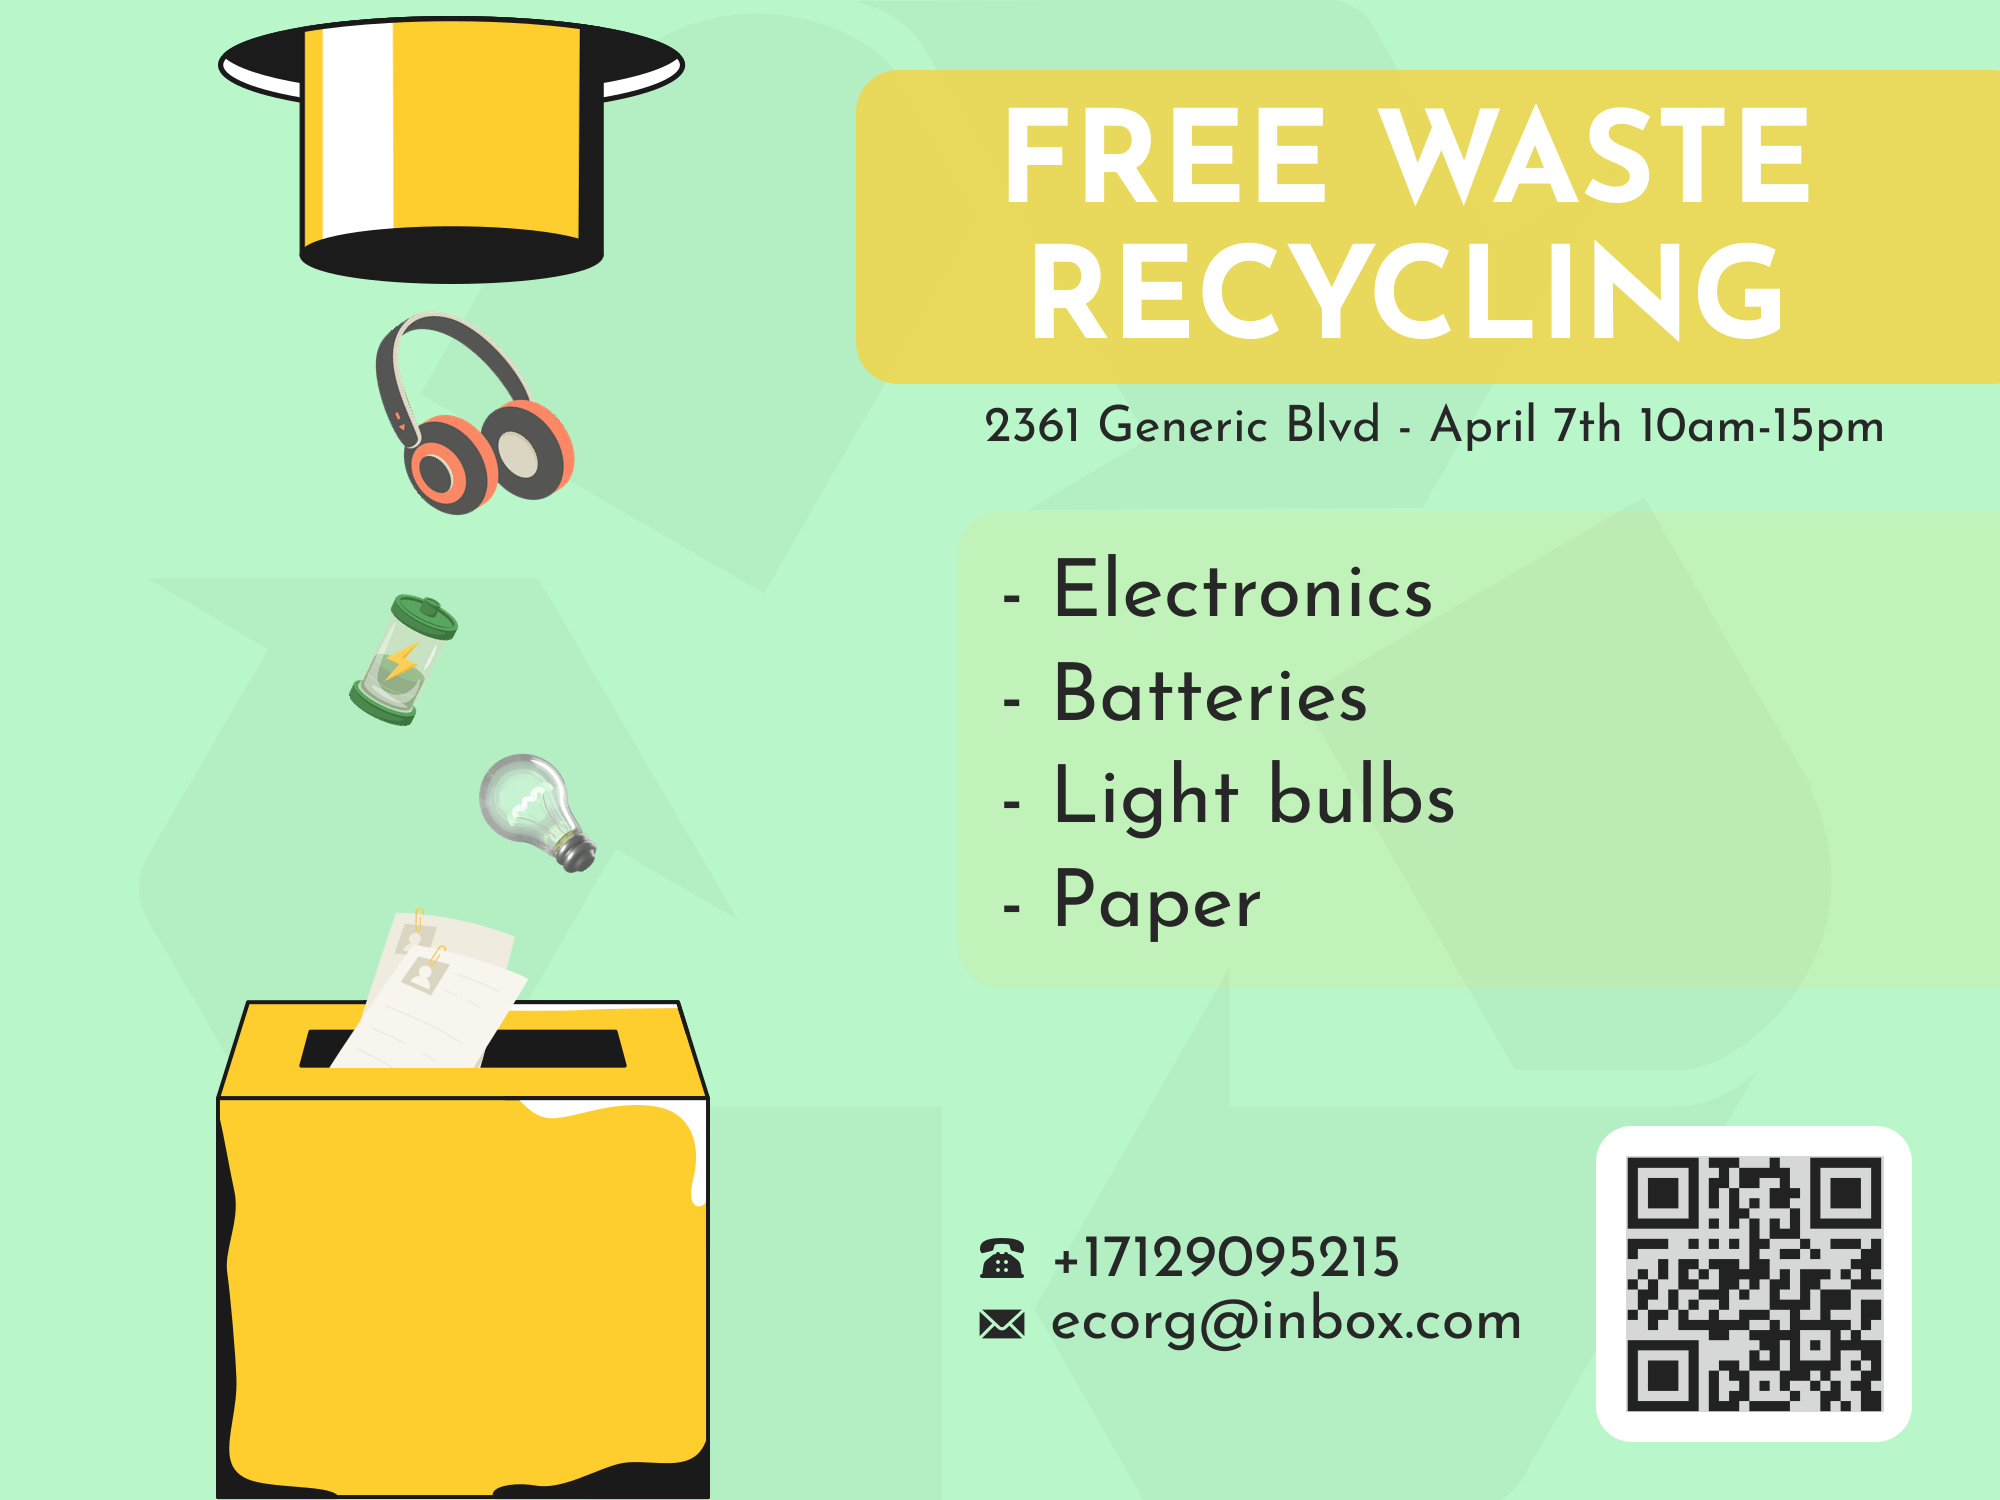
Let’s create a simple event announcement poster for social media.
Canvas settings
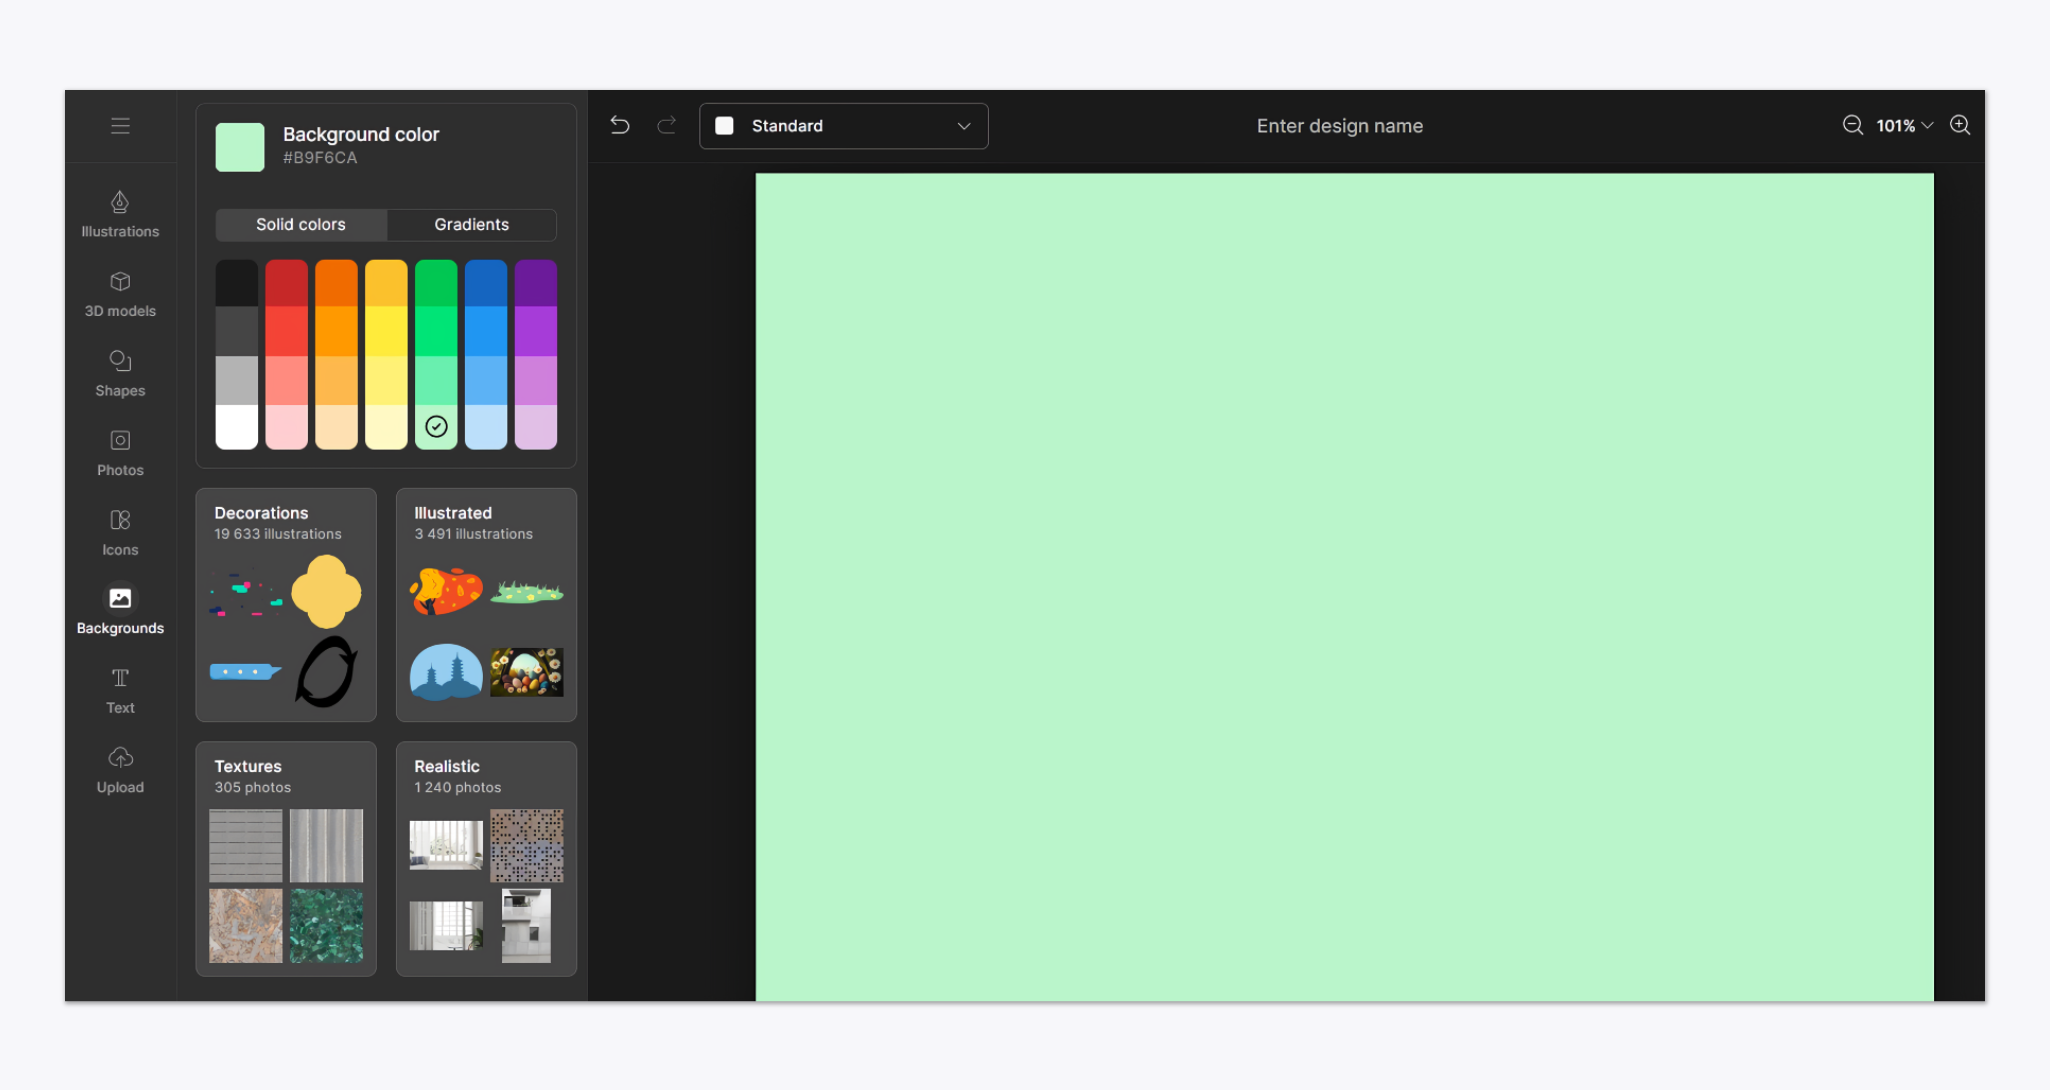
Click Create new design in the My Designs section or press Ctrl+X. You will see the main working area with a blank canvas. As a first step, click on the canvas size dropdown menu in the top panel and select the resolution you need. You can choose a preset template or set a custom size. Here, you can also set a name for your design and control the zoom scale. For now, we will go with a standard 4x3 canvas.

Often, you will need to apply a specific color to the canvas, so head to the Backgrounds section in the left-side panel. There, you can choose a solid color or a gradient from a preset palette, set custom colors with a color picker or a HEX code. Below the color options, you will also see suggested graphic assets you can use as backgrounds.
Libraries and Search
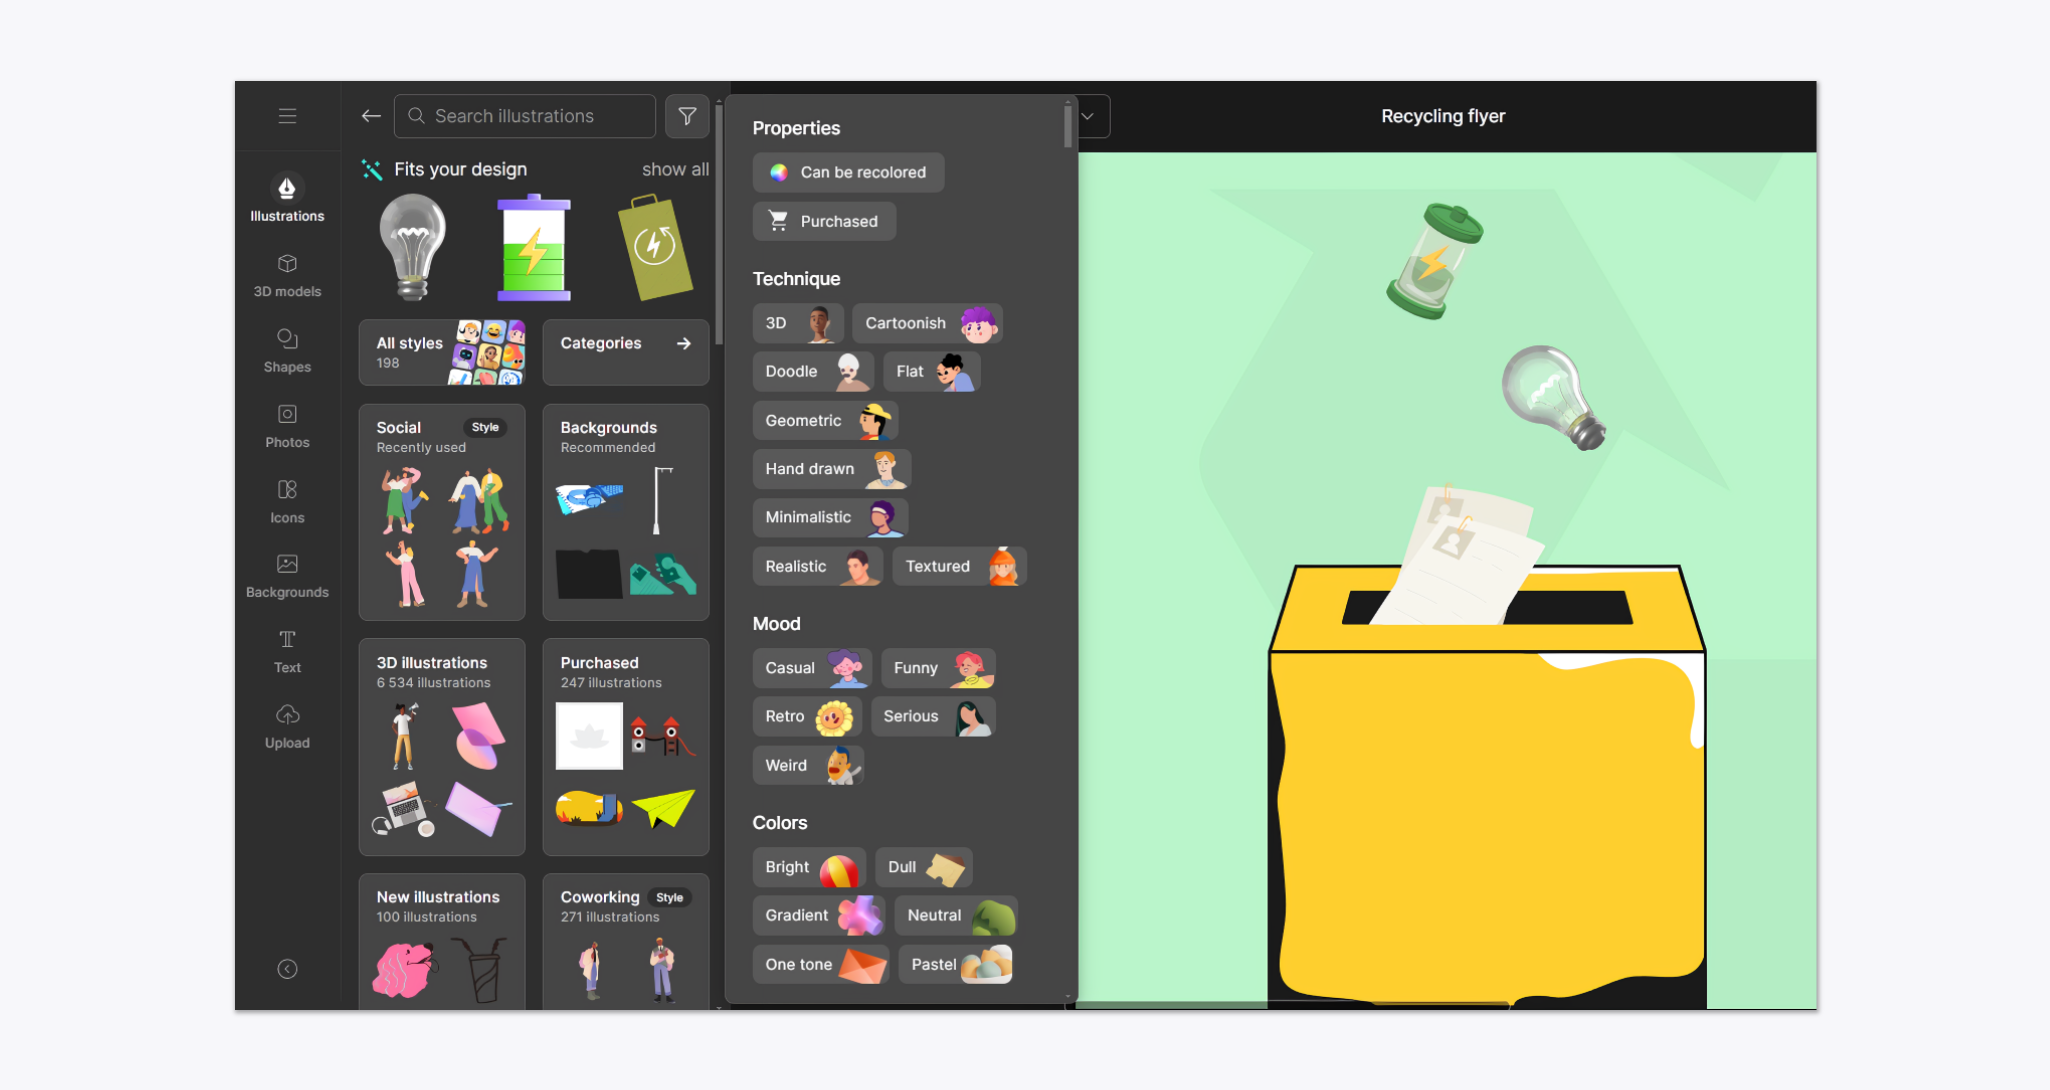
The main highlight of Mega Creator is the integrated libraries of Icons8 graphics, which let you seamlessly combine and modify any of our assets in your designs. Currently, Mega Creator includes illustrations, 3D models, icons, and photos. Some categories, such as Shapes and Backgrounds, combine several types of assets.
Click on the Icons section of the left-side panel. You can use the search bar at the top to find icons from all styles or use filters and categories to limit your search.
![]()
Controls and features
Place an icon on the canvas by clicking or dragging and dropping it onto the working area. Click on the placed icon again to see the available controls:
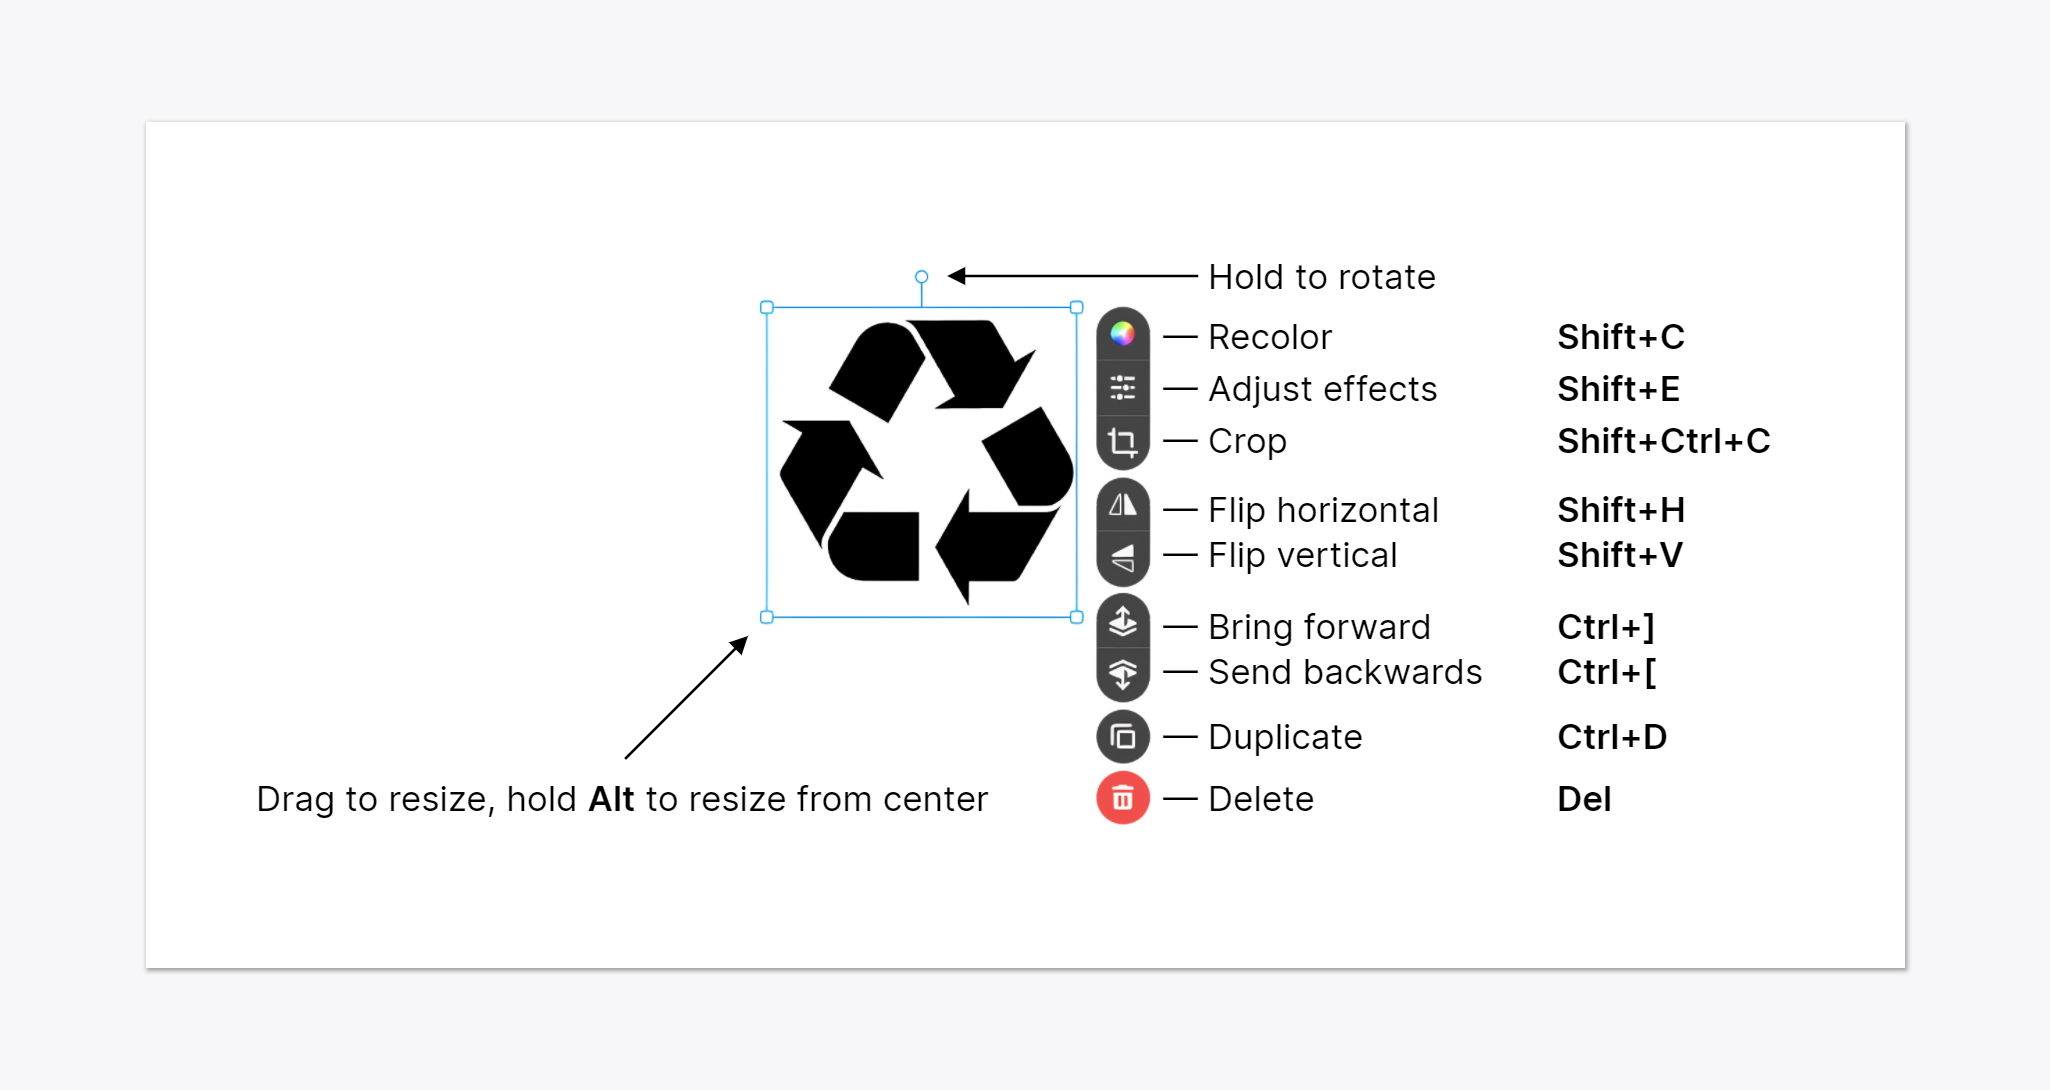
Adjust Effects menu includes the following settings:
- Opacity is used to control how transparent the object is.
- Shadow adds a tweakable shadow to the object.
- Outline is available for text objects and adds an outline of variable thickness that can be recolored.
- Harmonization is available for user-uploaded objects and is used to adjust the color balance of an image to make it fit the project.
After we resized an icon and adjusted its opacity to make it act as a background accent, we also placed several illustrations that fit the theme of our project. The illustration menu filters are more extensive than those in the icons section: you can sort by technique, mood, and colors, amongst other parameters:
One of the illustrations blends with the background, so we need to recolor it:
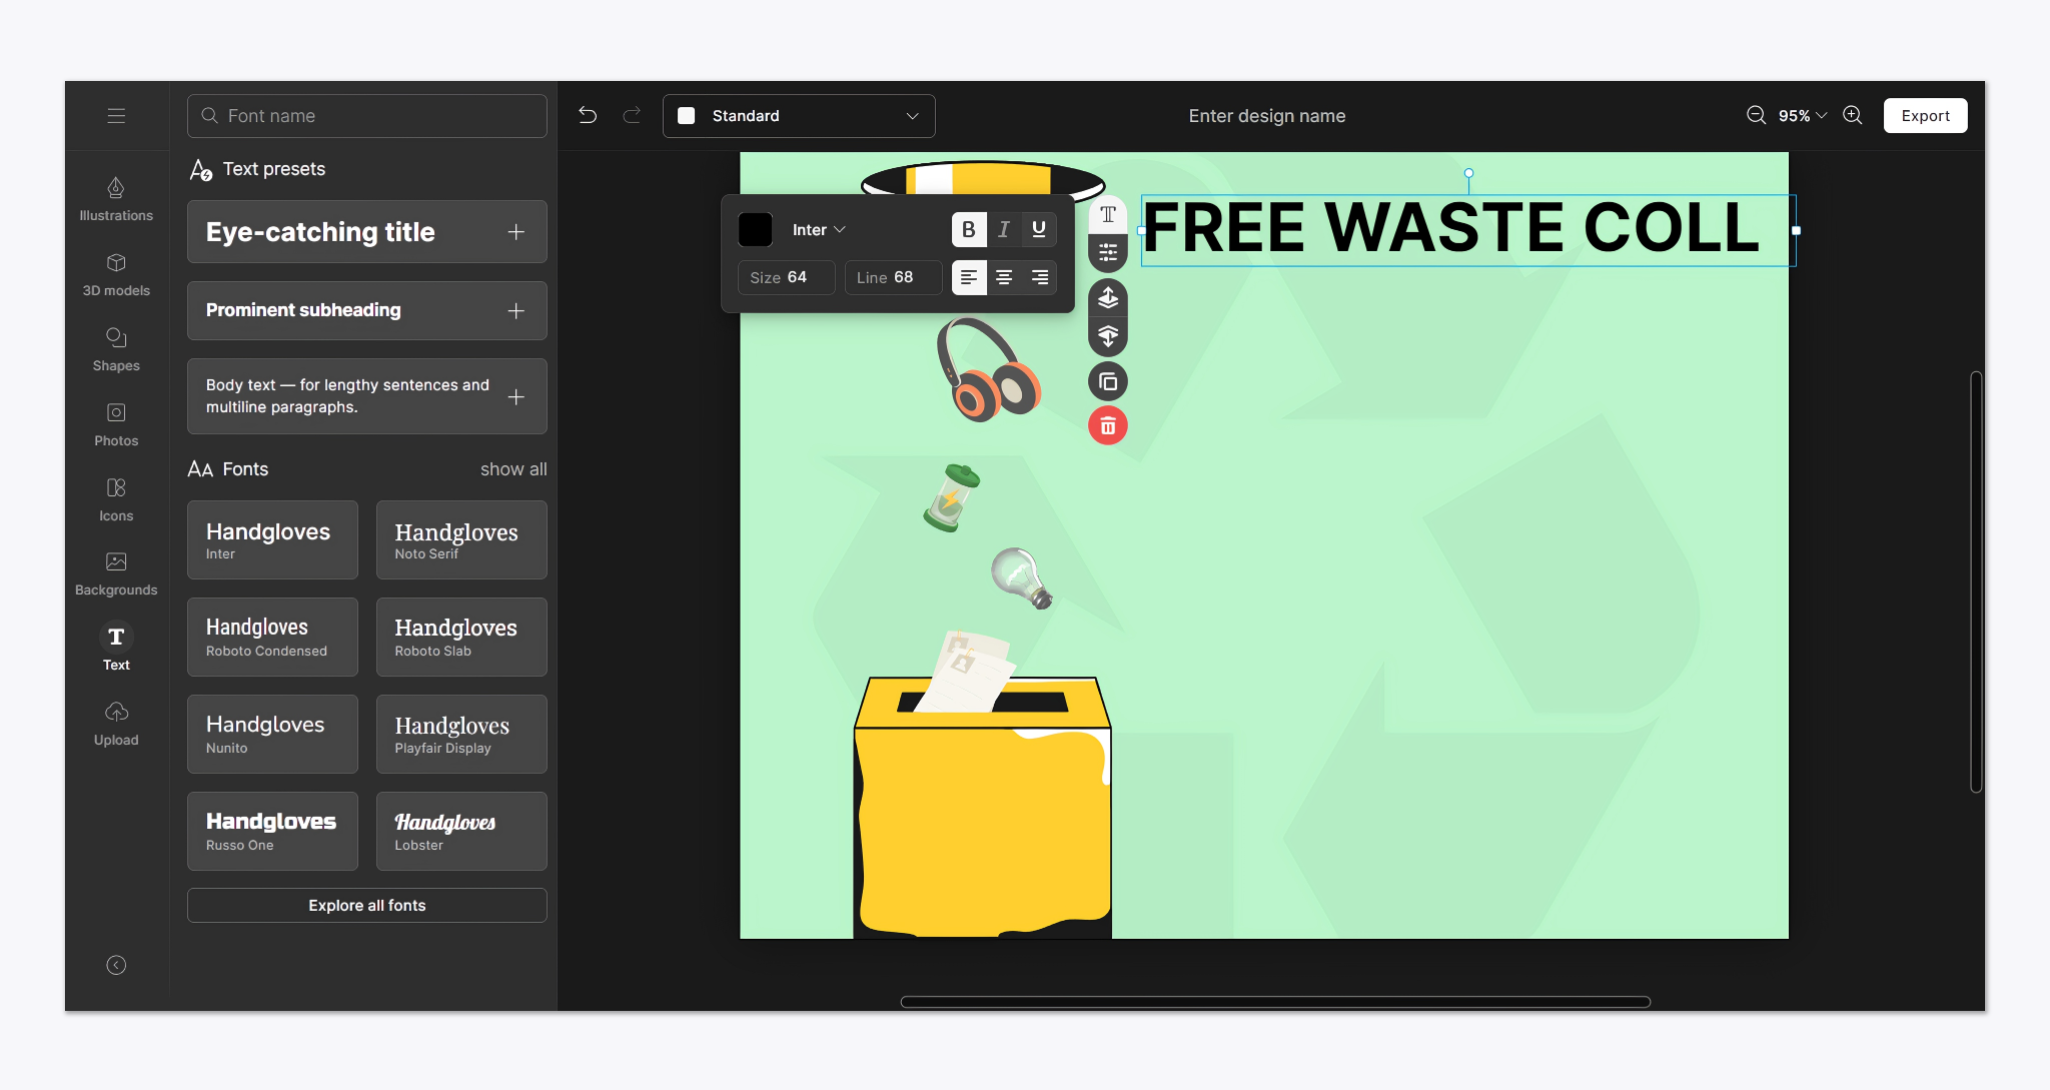
Now it’s time to add text. In the corresponding section of the tool, you can use text blocks of a preset size and explore all the fonts we have. Mega Creator uses Google Fonts for all your text-based needs.
After placing a text object, you can change its color, weight, line spacing, formatting, and alignment:
Let’s switch to the Shapes tab located on the left-side panel. This section includes basic geometric shapes and simple illustrations. In our example, we are going to use rectangles to make the text stand out:
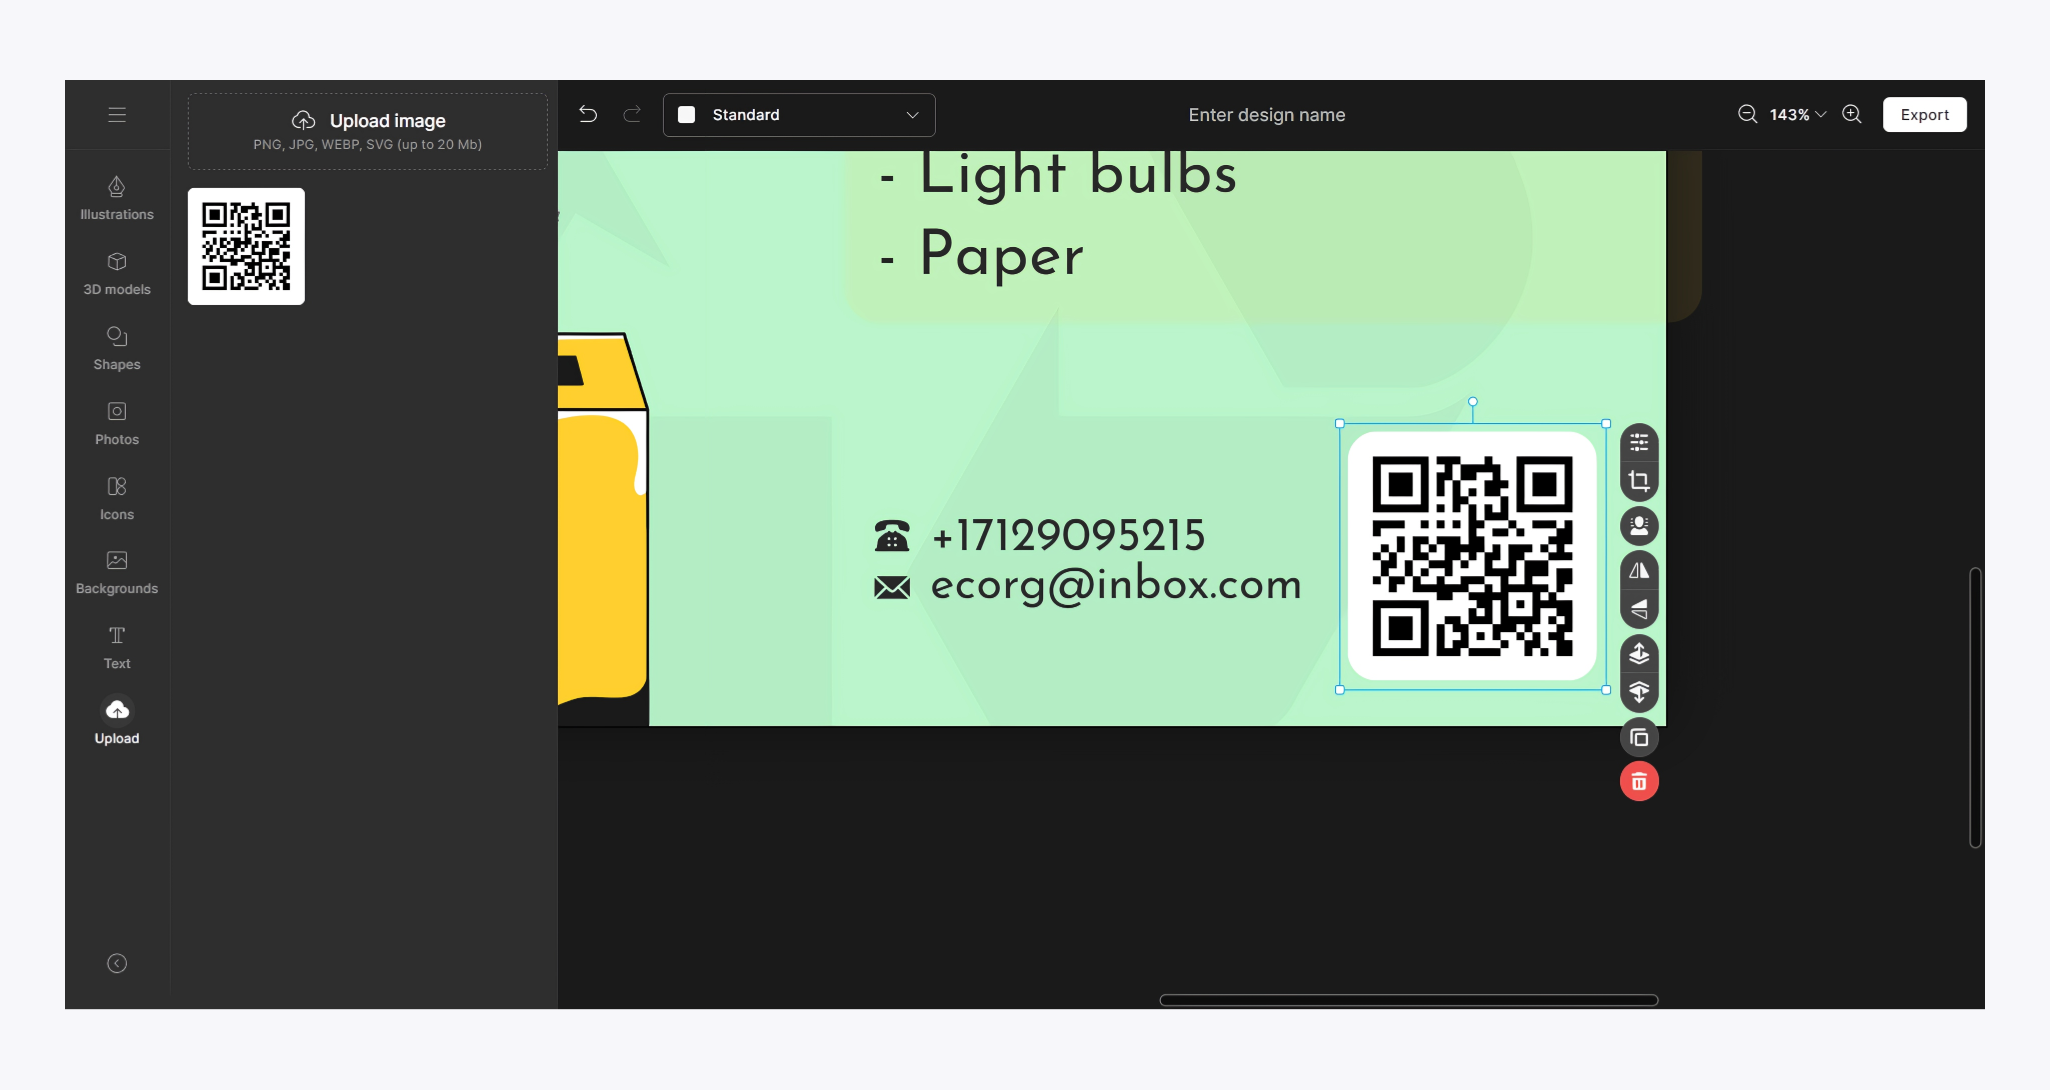
As a final touch, we will add a QR code generated by a third-party tool to the flyer. For that, we will need to use the Upload tab of the left-side panel. Mega Creator supports .png, .jpg, .webp and .svg uploads of up to 20 Mb in size.
AI Tools and 3D Models
In addition to the graphic libraries described above, Mega Creator features our AI tools and interactable 3D models.
You can remove backgrounds from any images uploaded manually:
If you pick an image from the Photo section, you will be able to swap the face of a person on the photo with an AI-generated twin, one of the preloaded images, or with a photo you uploaded yourself:
Some of the illustrations from our 3D styles are included in Mega Creator as full-fledged 3D models, which can be found in the corresponding menu section:
For the 3D models to work properly, you should have Hardware Acceleration enabled in your browser:
- In Chrome, go to Chrome Menu > Settings > Advanced. Under System, enable Use hardware acceleration when available.
- In Safari, click Safari, then Settings > Advanced and toggle Use hardware acceleration on. This is available on systems older than MacOs 10.15.
- In Firefox go to Menu > Settings, in the General panel, go down to the Performance section. Uncheck the box next to Use recommended performance settings and then check the Use hardware acceleration when available box instead.
Export and Sharing
Any changes you make in a project get automatically saved and synced with the server. This way, you can safely close and revisit your documents at any point.
You can export your projects in three formats: .svg, .png, and .psd, which are available in several sizes. Please note that if your project contains raster images (for example, photos or non-svg files you uploaded manually), you won’t be able to export it in .svg.
Here’s how our project looks after exporting it as a large-resolution .png: